
Ceiling patches and wall lining before painting
See ceiling hole repairs, wall patching and lining. Several photographed surfaces remain unpainted.
PAINTING & WALL REPAIRS
Mel One repairs damaged walls and carries out painting across Greater Brisbane. We take on a single plasterboard hole, local patching and paint touch-ups, full-wall and room painting, Whole-house interior painting, and Exterior wall repairs and painting. Each quote identifies the surfaces, preparation, protection and finishing included.
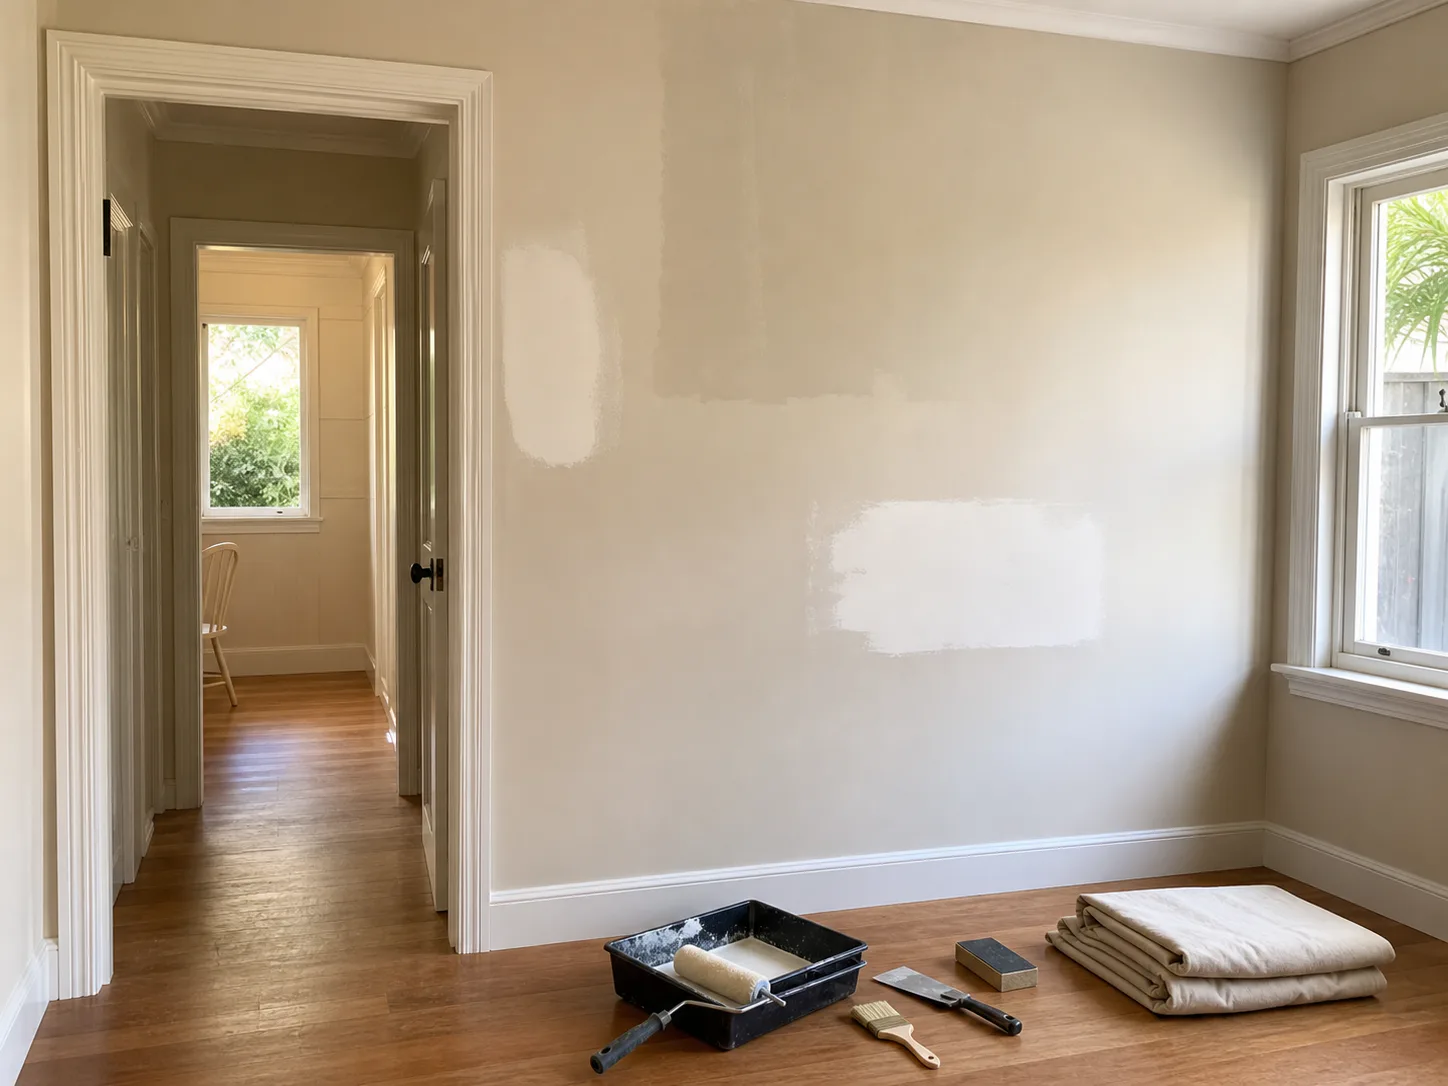
CHOOSE THE RIGHT SERVICE
Discuss water-entry diagnosis and roof repair with the Brisbane roofing team. Return here for ceiling patching, lining and painting; both problems can be described in the same enquiry and confirmed separately.
Go to Brisbane roof leak repairsCEILING REPAIR PHOTOS
These photos show the earlier discoloured ceiling area and later views of the refinished white surface and cornice junction. If you need both roof leak work and interior repairs, describe both in one enquiry so the relevant trades and sequence can be discussed.
 Earlier condition
 Refinished surface
Damp conditions can encourage mould, and exposure can affect some people’s health. Persistent damp or recurring mould needs attention before decorating. Read Queensland Health’s mould guidance.
For a free quote, send your suburb, the affected area, whether water is still coming in, and a wide photo plus a closer view taken from floor level. Allen can then discuss the scope and whether a site visit is needed.
CEILING STAIN INSPECTION PHOTOS
This record photographs the stain first, then opens the plasterboard to check the space and members behind it. The opening confirms the affected area; the water source, drying and any later repair are separate scopes.
 Before opening
The stain position is not the entry point. The opening checks how far the lining and members are affected; roof investigation, drying and plaster or paint repairs are each confirmed as their own scope and timing.
SKIRTING PAINT PHOTOS
This record follows one interior: masking protects the skirting and tile floor, the wall and skirting top coats go on, and the returned line and vents are checked after the tape comes off. The video is a finished walk-through, rotation-corrected and captioned in both languages.
 Preparation
 After
 After
 After
The skirting-to-wall junction, vents and door edges are where misses show. The quote lists protection, coat count and the returned-line check; substrate issues are confirmed separately.
SELECTED WALL REPAIR RECORD
This local job records a damaged wall opening, the repair and the later refinished surface. It is a direct example of the wall-repair service, whether the customer needs one repair or a larger repaint.
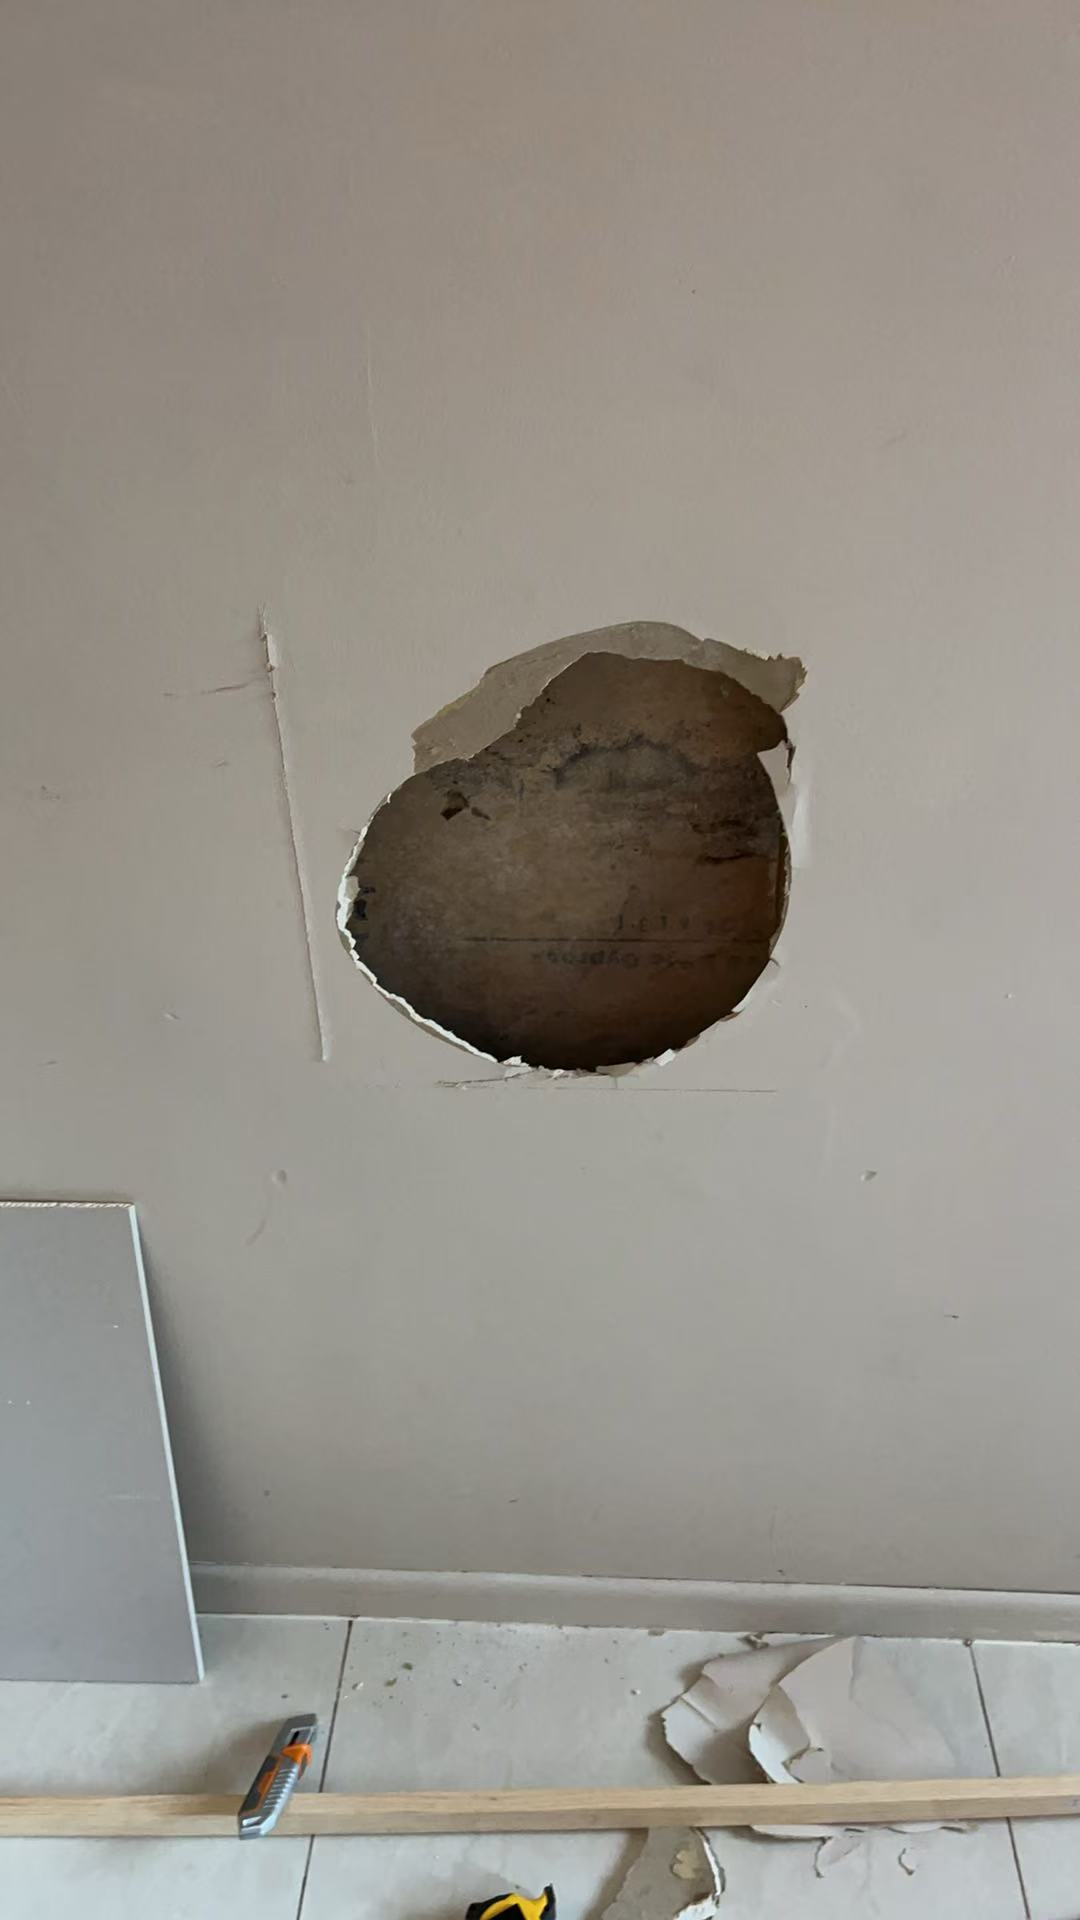 Before
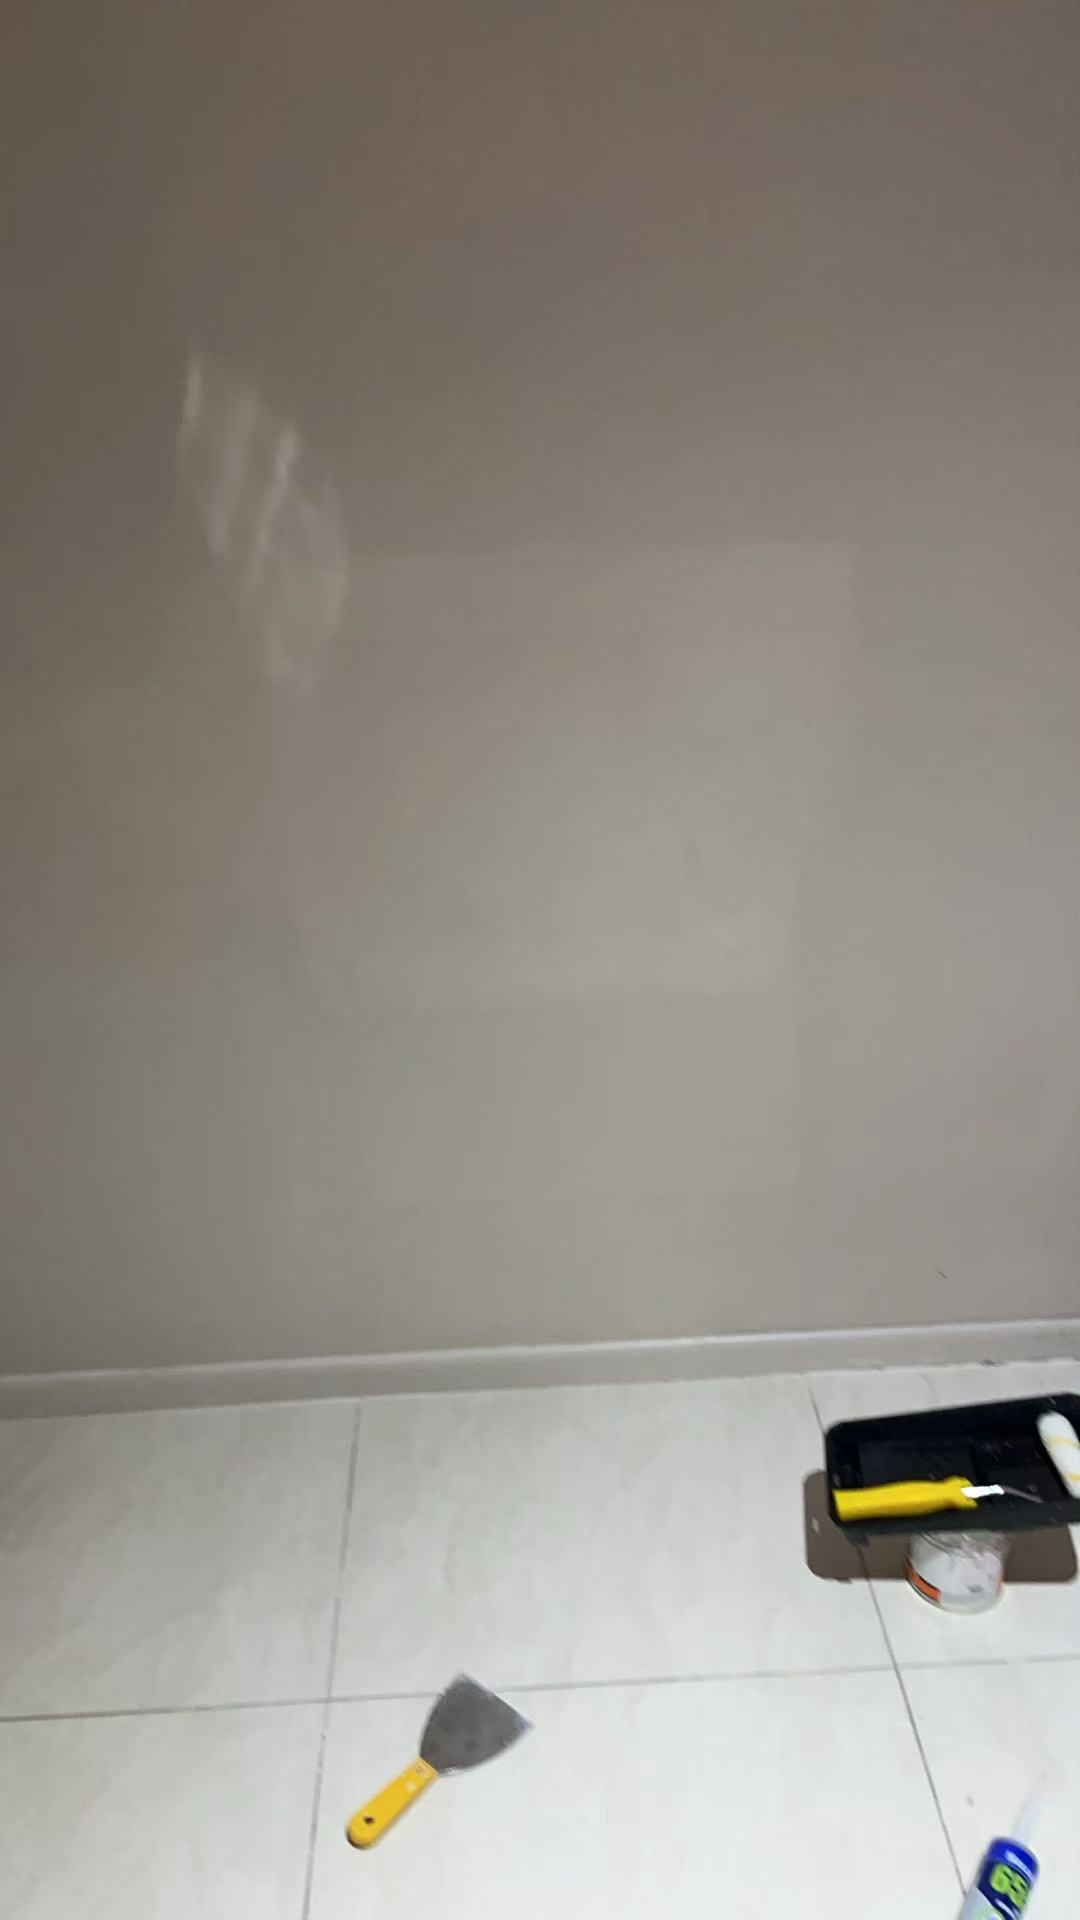 After
Work shown: local wall repair and surface refinishing.
See wall repair work and scopeSee ceiling hole repairs, wall patching and lining. Several photographed surfaces remain unpainted.
See four finished-room views of the light walls, white trim, window and wardrobe recess. This record shows the completed appearance; no before photos or product specification were supplied.
Sanding, joint filling, wall repairs and repainting, with before photos and later views around the shower and window.
WHAT THIS SERVICE MAY INCLUDE
The work covers the damaged surface and the agreed painted finish. A local patch, a full wall and a whole room are priced as different scopes.
We repair plasterboard holes, wall cracks and damaged wall or ceiling sections, including replacement of damaged ceiling lining and cornice where needed. The repaired area is prepared for the agreed paint finish. Show the whole affected surface as well as the damage so the repair boundary is clear.
We remove loose, peeling or blistered paint, fill and prepare the affected surface, then repaint the agreed area. Water-damaged walls and ceilings can include local lining repairs and stain preparation after the leak or moisture source has been addressed. Existing texture and coatings affect preparation and how far repainting needs to extend.
Paint a local area, complete wall or room according to the agreed finish boundary. Walls, ceilings, doors and trims are listed separately where they are included.
Plan the agreed rooms and surfaces together, including walls, ceilings, doors, frames and trims where listed. Surface repairs, preparation, furniture and access arrangements, colour selections and final touch-ups are recorded for the occupied or vacant property.
Inspect and repair the agreed exterior wall, board, joint or damaged surface before preparation and painting. Timber or eaves repairs, access, weather exposure and roof painting remain separately identified parts of the quote.
Repair and refinish the agreed ceiling area after the moisture source and dry condition are confirmed. Ceiling patching or repainting and roof leak diagnosis and roof repair are separate scopes, although both can be described in the same enquiry.
Patch and paint around agreed door, trim, lining or renovation work. Protect retained fittings and identify the surfaces that need finishing after the other work is complete.
PLANNING THE WORK
Keep the visible finish, the repair boundary and the cause of any damage distinct.
An older coating or strong light can make a local touch-up visible. Discuss a full-wall or wider repaint where a small area will not provide an acceptable finish.
Provide known paint details where available. A matching colour name does not by itself confirm that an aged finish, surface texture or sheen will blend.
We assess known moisture or movement concerns before the final coating and explain any separate work needed. Painting restores the finish; the underlying cause needs its own treatment.
Identify the other work that must finish before painting and the rooms that will remain occupied. This helps define access, protection and the boundary between repair work and final decoration.
REAL INTERIOR PROJECT
This project combined interior painting and staircase surface refurbishment with flooring and edge trims. See the work areas, surface details and wider room views.
 Interior view
 Staircase finish
RELATED PROJECT PHOTOS
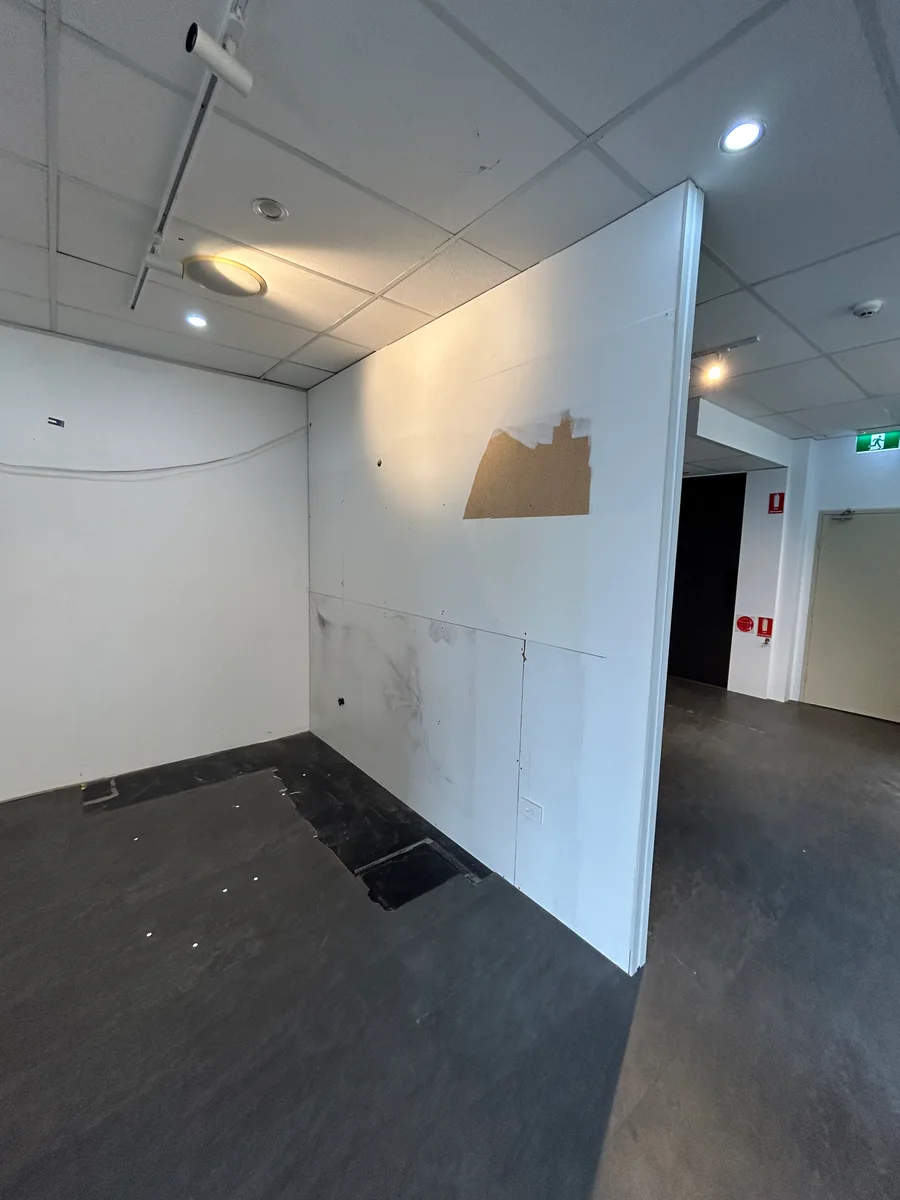
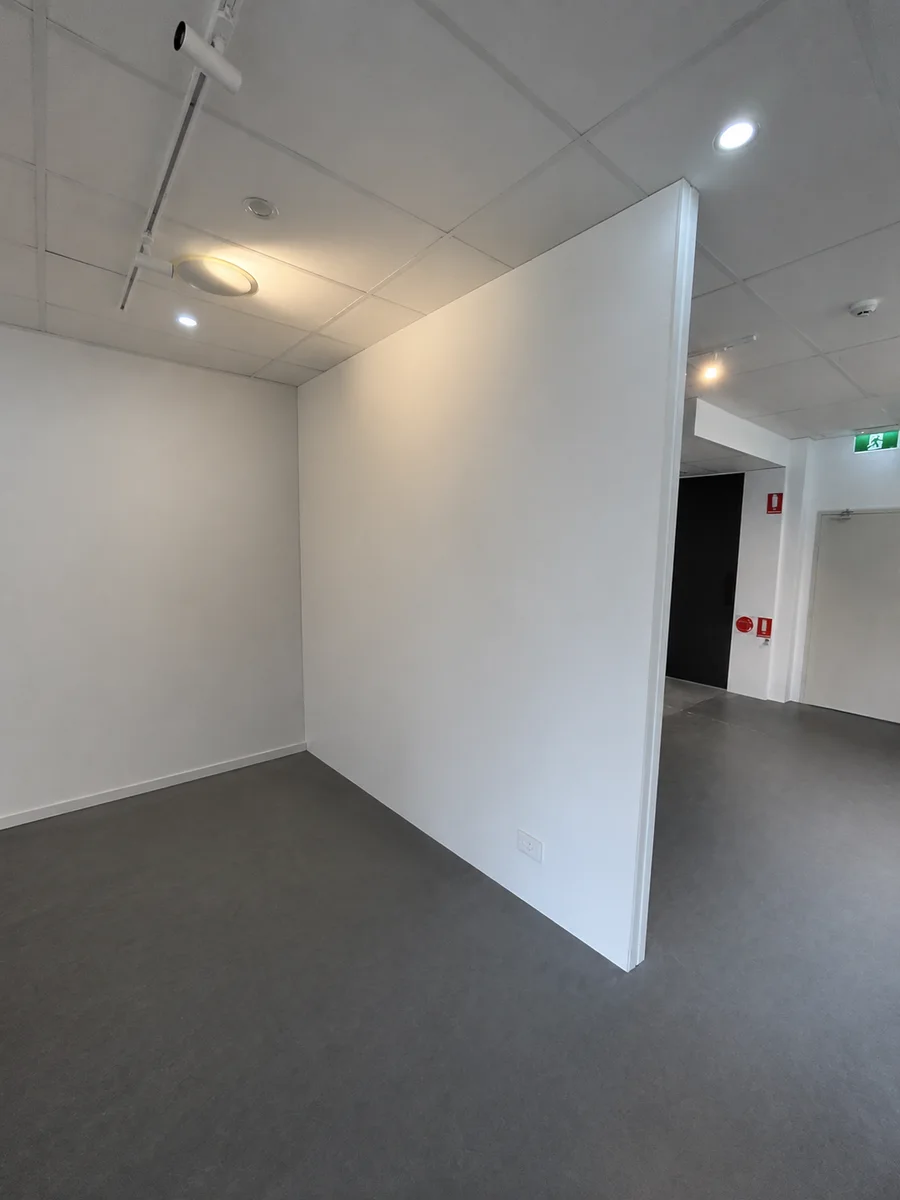
This commercial fit-out brought together wall preparation and painting, floor finishing, cabinetry and final room details. Compare the same room before and after the finishes were completed.
RELATED SERVICES
Door and window work can also involve local wall, trim and paint repairs. Include all affected items in one enquiry.
Explore door and window servicesBEFORE YOU CONTACT US
Show the wall finish and any staining, movement or damaged junctions as well as the room. Clarify any cause that needs investigation before agreeing on patching and repainting. Brisbane west repair and preparation guidance →
Suitability, travel and visit arrangements are confirmed for the actual property and agreed scope.
HOW ENQUIRIES WORK
Send photos for an initial discussion. Jobs that depend on measurements, access or hidden conditions may need a site visit.
Share your suburb, photos, the problem and the result you want.
Allen checks the information and lets you know whether a site visit is needed.
The included work, exclusions, responsible trades, price and timing are put in writing.
The agreed work is scheduled and checked against the written details when complete.
GOOD TO KNOW
For a question specific to your property, send Allen the suburb and a few clear photos.
Yes. A single wall repair is welcome. The repair, preparation and the extent of repainting are agreed for that job.
Not automatically. A local patch, full-wall repaint and room repaint are different scopes. Agree the paint boundary and expected finish before work starts.
Provide the existing colour and product details where available. Age, sheen, texture and lighting can affect the match, so a larger painted area may be discussed.
No. Painting is a surface finish, not proof that moisture or movement has been resolved. Known underlying concerns need separate assessment.
TALK TO ALLEN
Call Allen, or open a text or email draft and attach your photos.